How To Season a Blackstone Griddle
With our step-by-step guide on how to season a Blackstone the right way, you’ll be on your way to creating easy Blackstone recipes for yourself.
Blackstone Griddle Seasoning Steps
If you’re looking to create your own easy Blackstone recipes, then look no further!
Whether this is your first time seasoning a Blackstone griddle or you’d just like some fresh advice, we’ve got it all covered here.
With our step-by-step guide on how to season a Blackstone griddle the right way.
You’ll be able to give yourself endless possibilities when it comes to creating delicious recipes with ease.
Seasoning a Blackstone Griddle doesn’t have to be complicated.
Contrary to popular belief, bacon is not the best seasoning for it. Why? Because bacon contains sugars, has a high salt content, and well, because Blackstone says it’s not good for it.
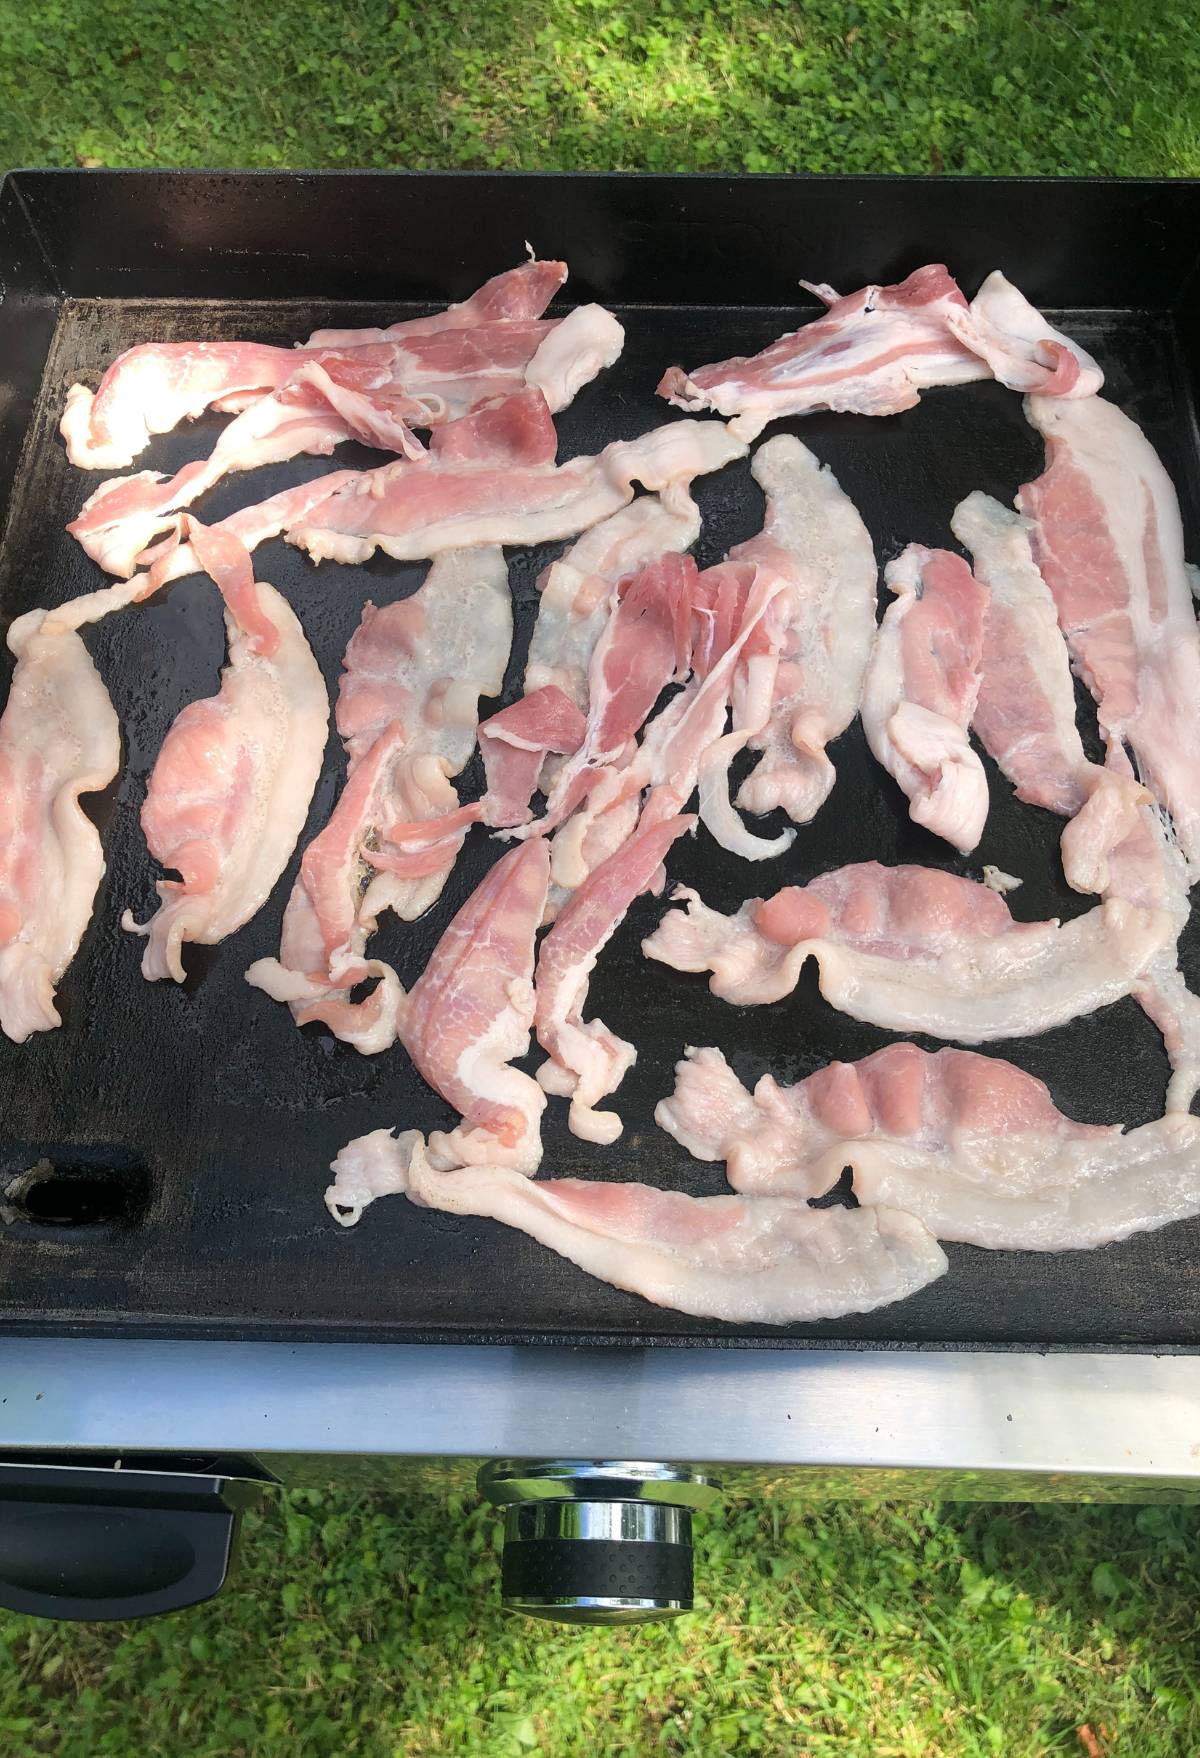
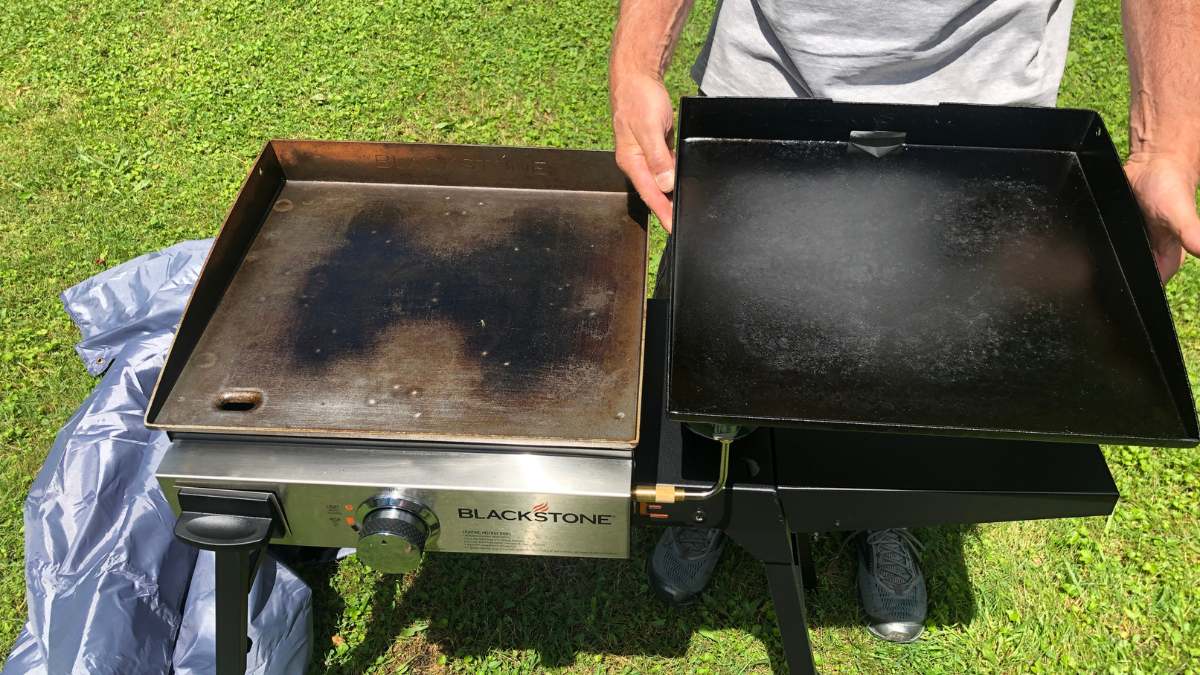
If you’ve read my about page here on Best Blackstone Recipes, then you will know that I had a 17-inch griddle before my 22-inch.
I seasoned that baby over and over and it never would look right. Most likely because the internet said to use bacon.
My friend did his the correct and even baked it on his gas grill. As you can see in the picture below, there is a huge difference.
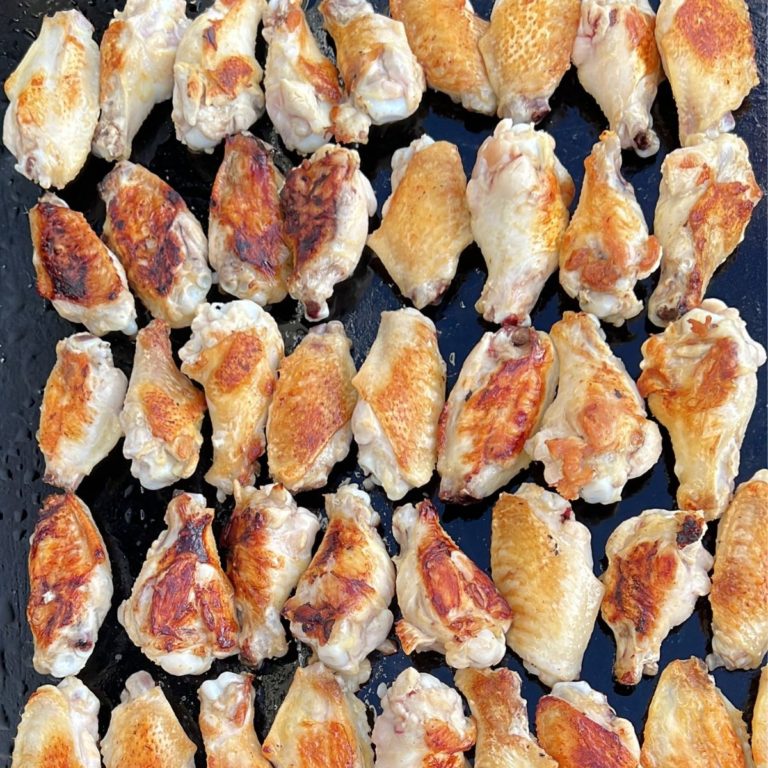
However, that’s not to say that you can’t cook bacon on it after you have seasoned it properly.
So don’t wait any longer – let’s get started creating those mouthwatering masterpieces today!
Step-by-Step Guide on How to Season A Blackstone Grill
Once you take the Blackstone Griddle and parts out of the box, you will want to wash it down with soap and water as per instructions.
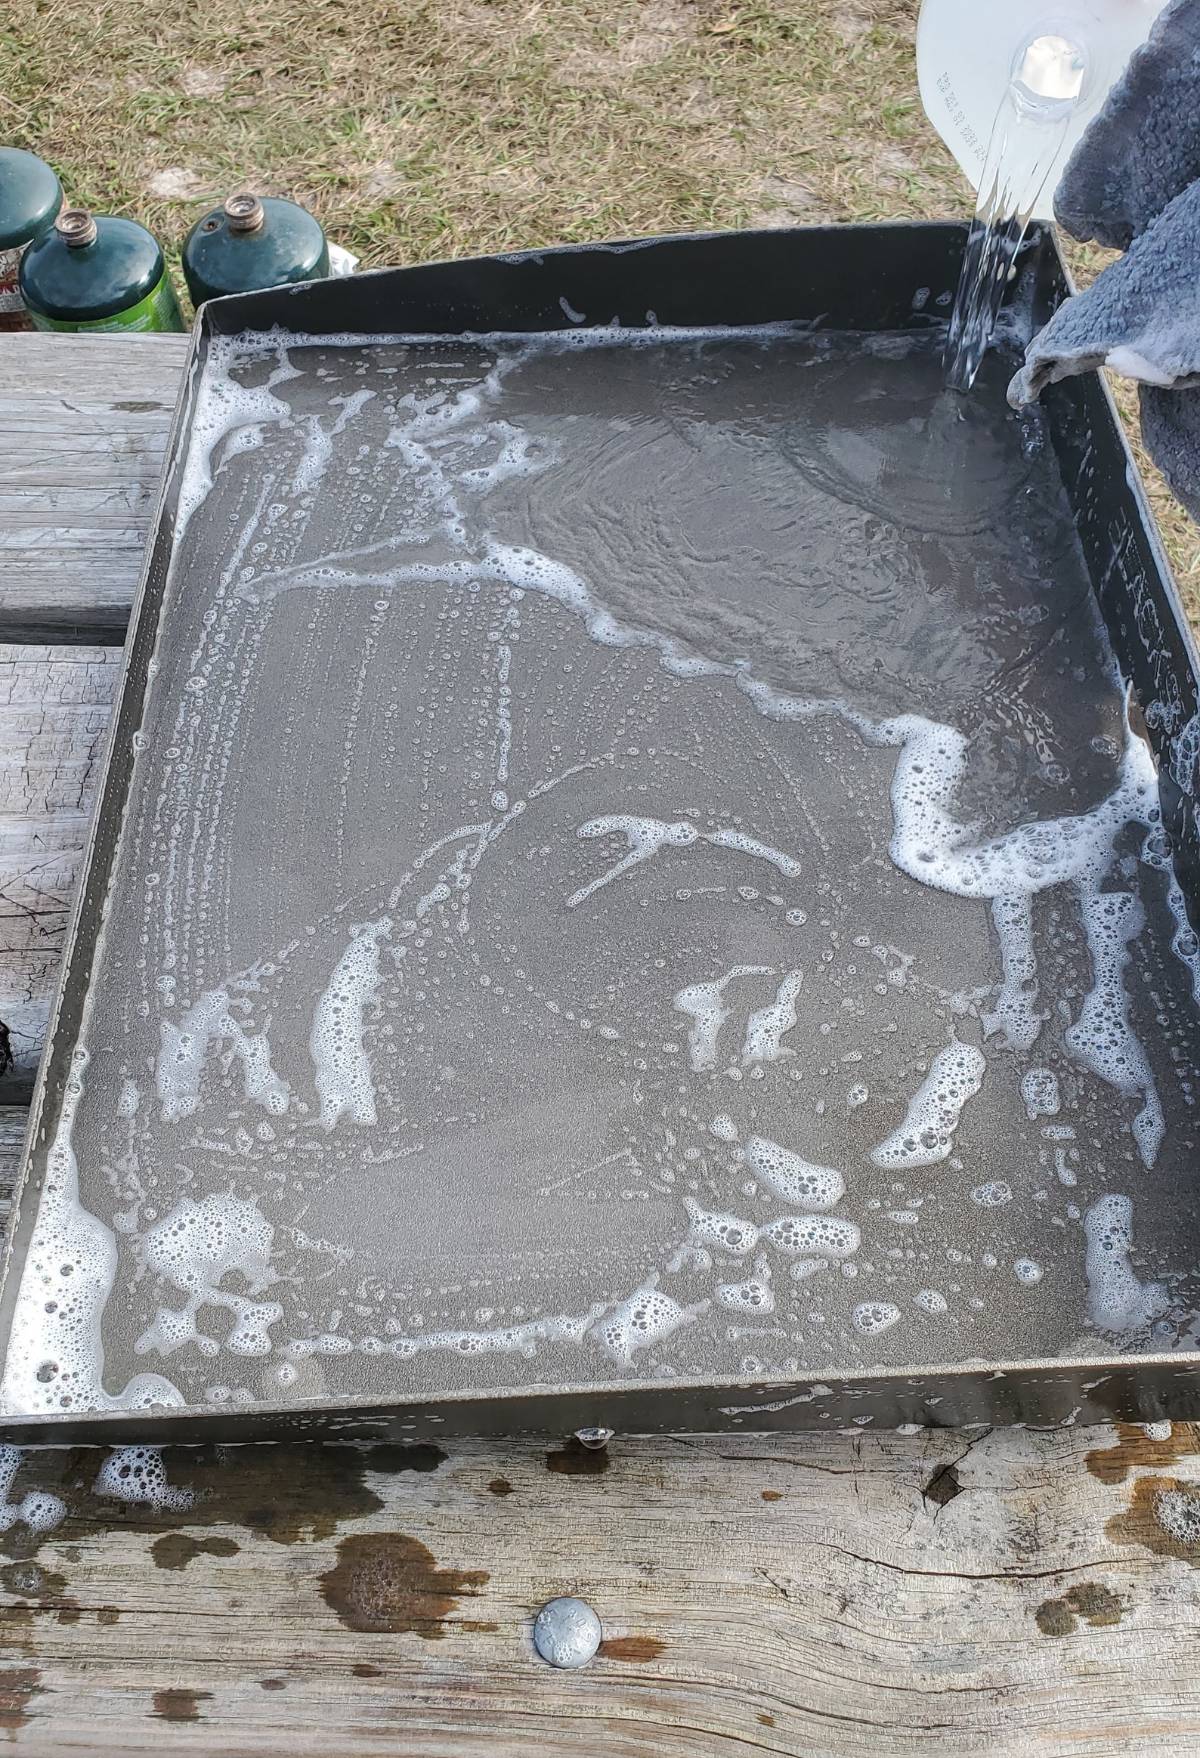
This will be the one and only time that you are going to use soapy water on your flat-top griddle.
When you are done, dry it off and get ready to season it.
Blackstone Griddle Seasoning
Since I wanted it done correctly this time, I purchased the Blackstone Griddle Seasoning.
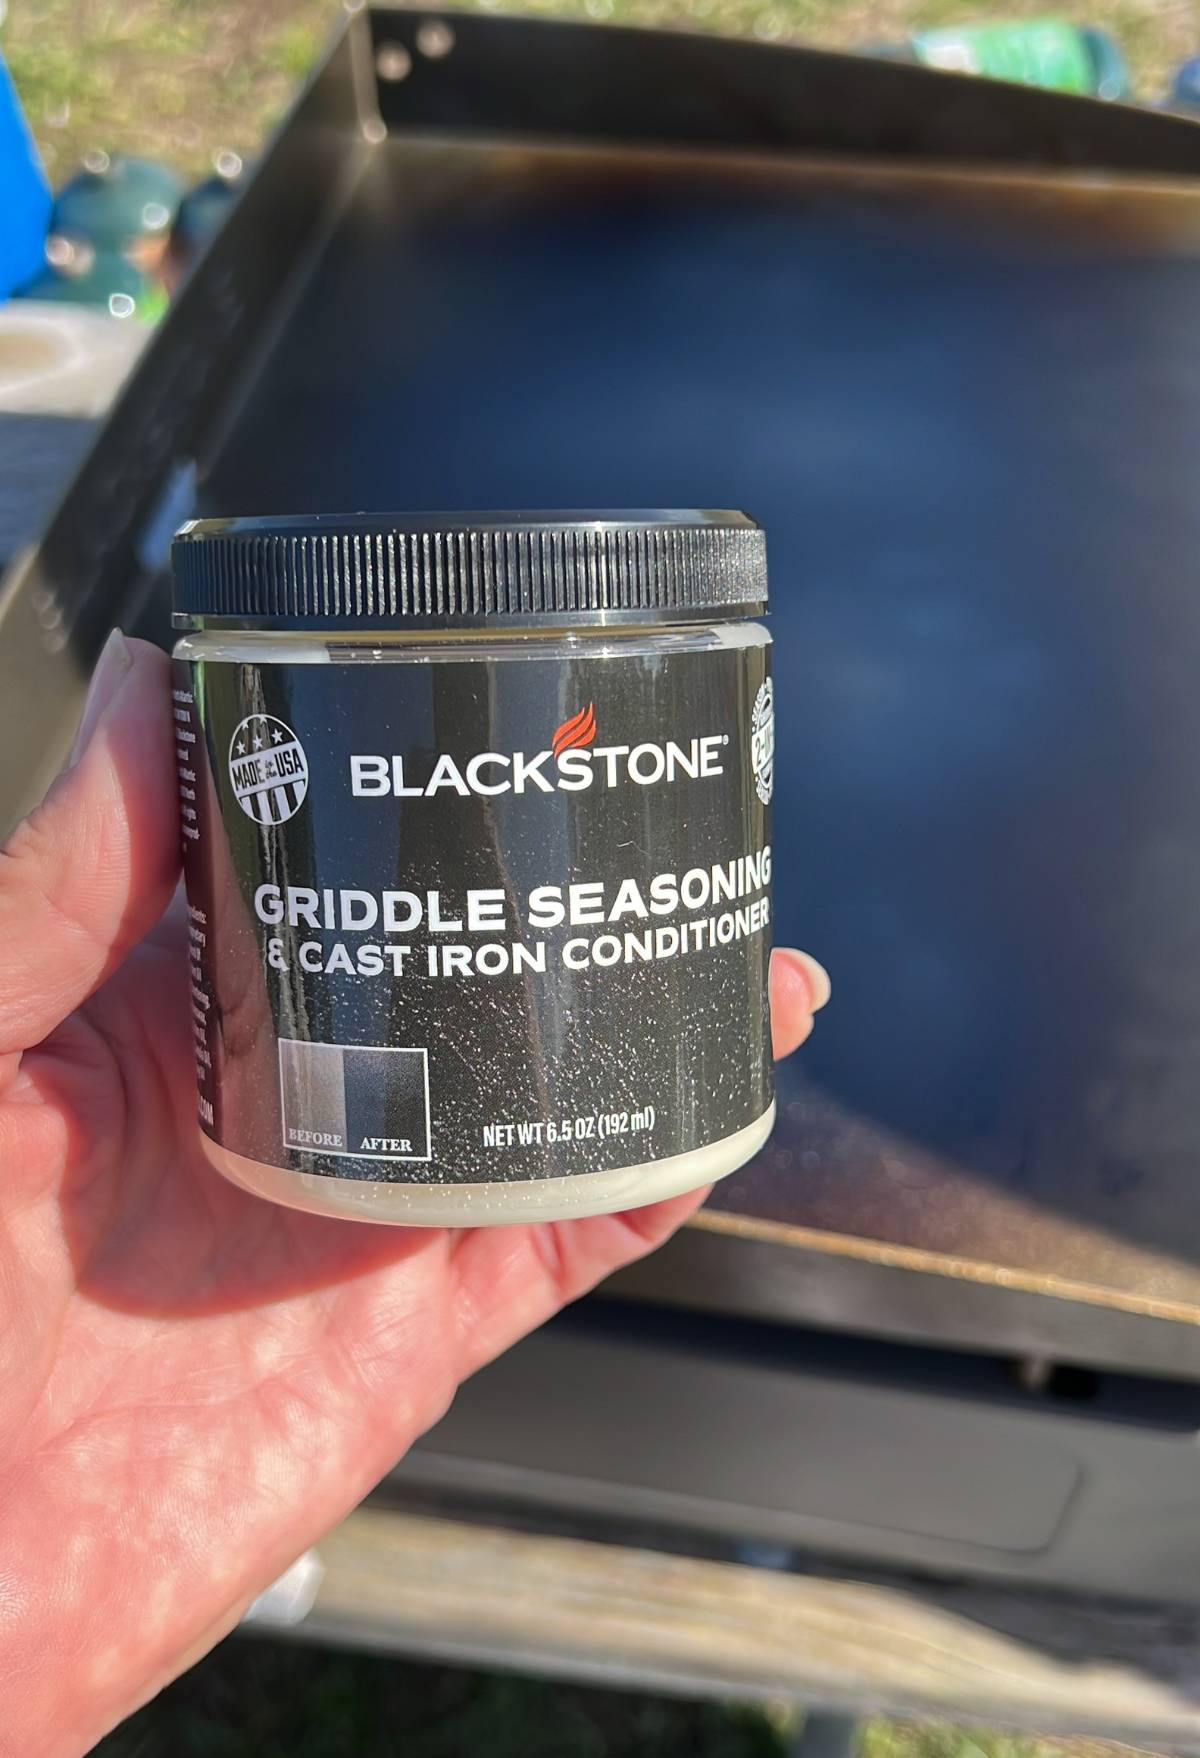
The great thing about the Blackstone Griddle Seasoning is that it is also a conditioner and can be used on cast iron skillets too.
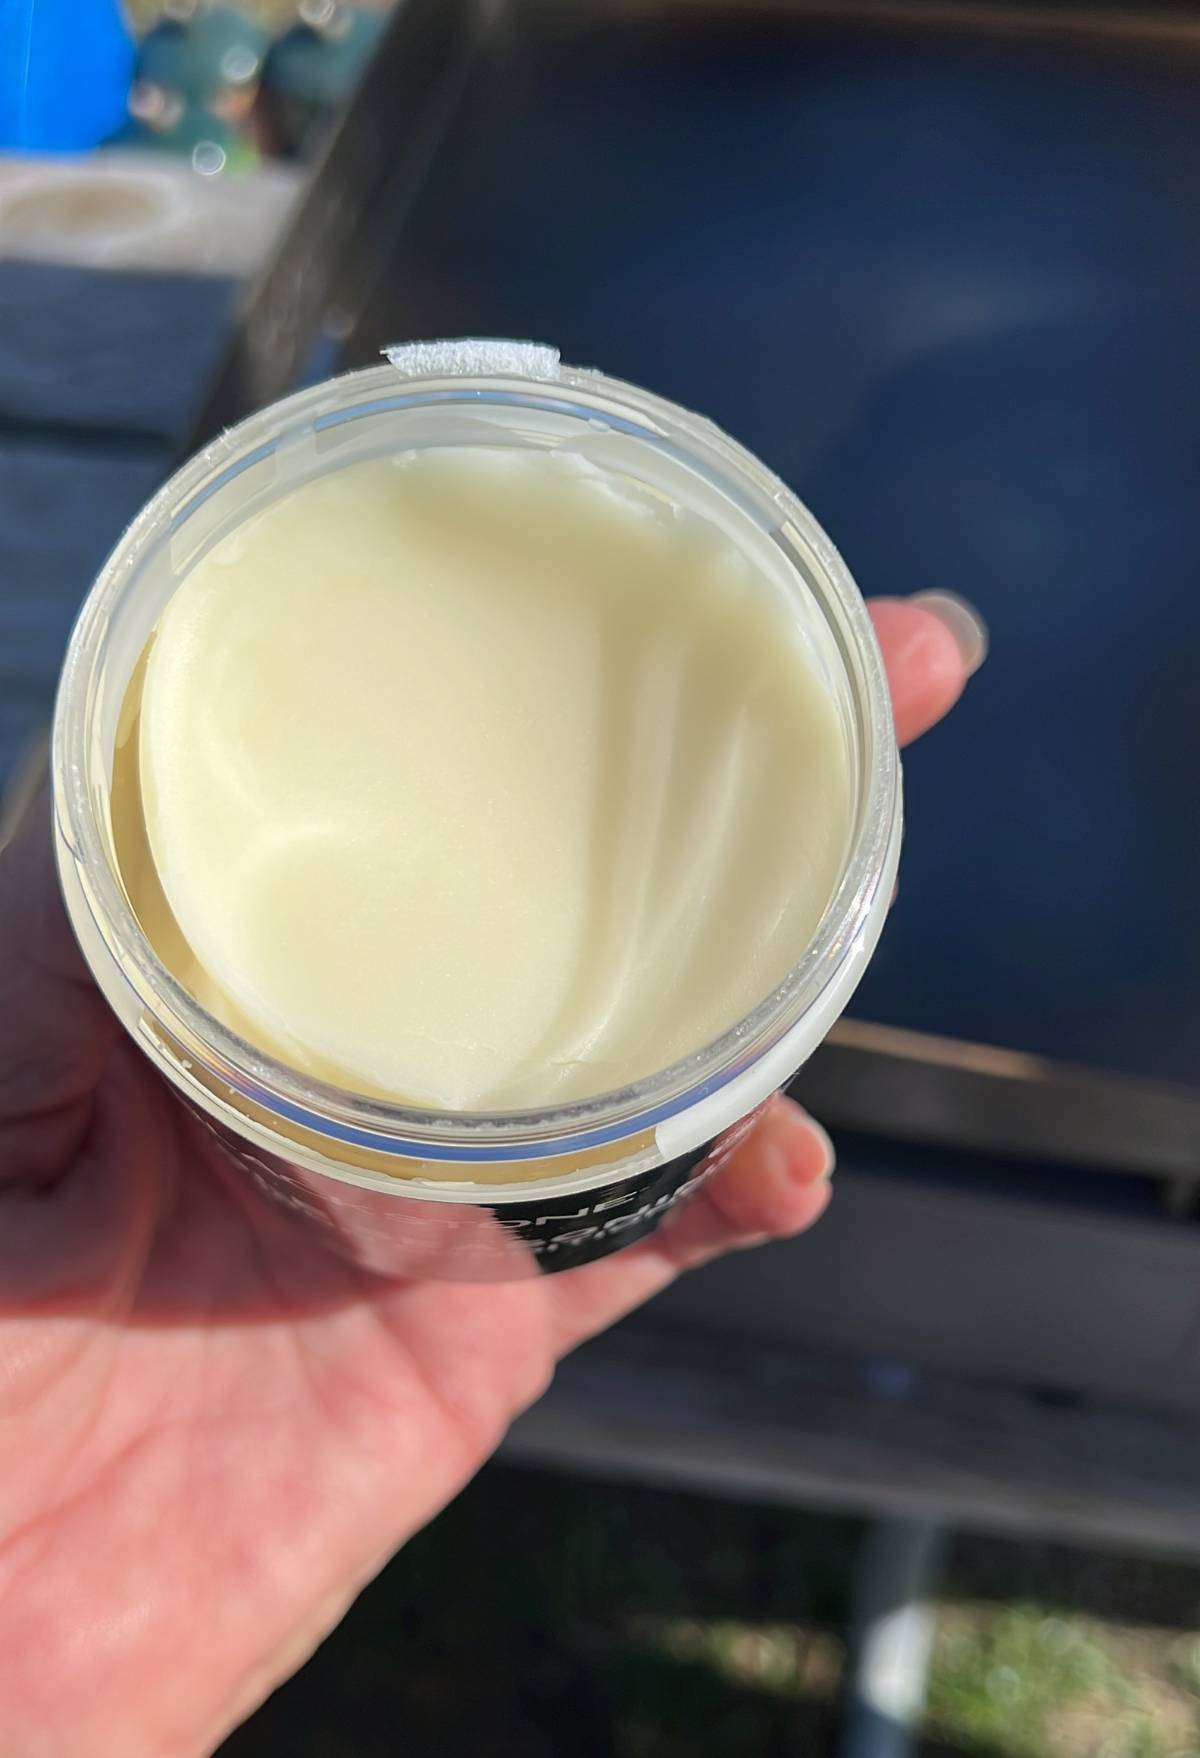
They say you can use vegetable oil, flaxseed oil, olive oil, and canola oil. I have even heard lard can be used.
Fire it Up
After you clean your griddle and dry it off, it’s time to fire it up.
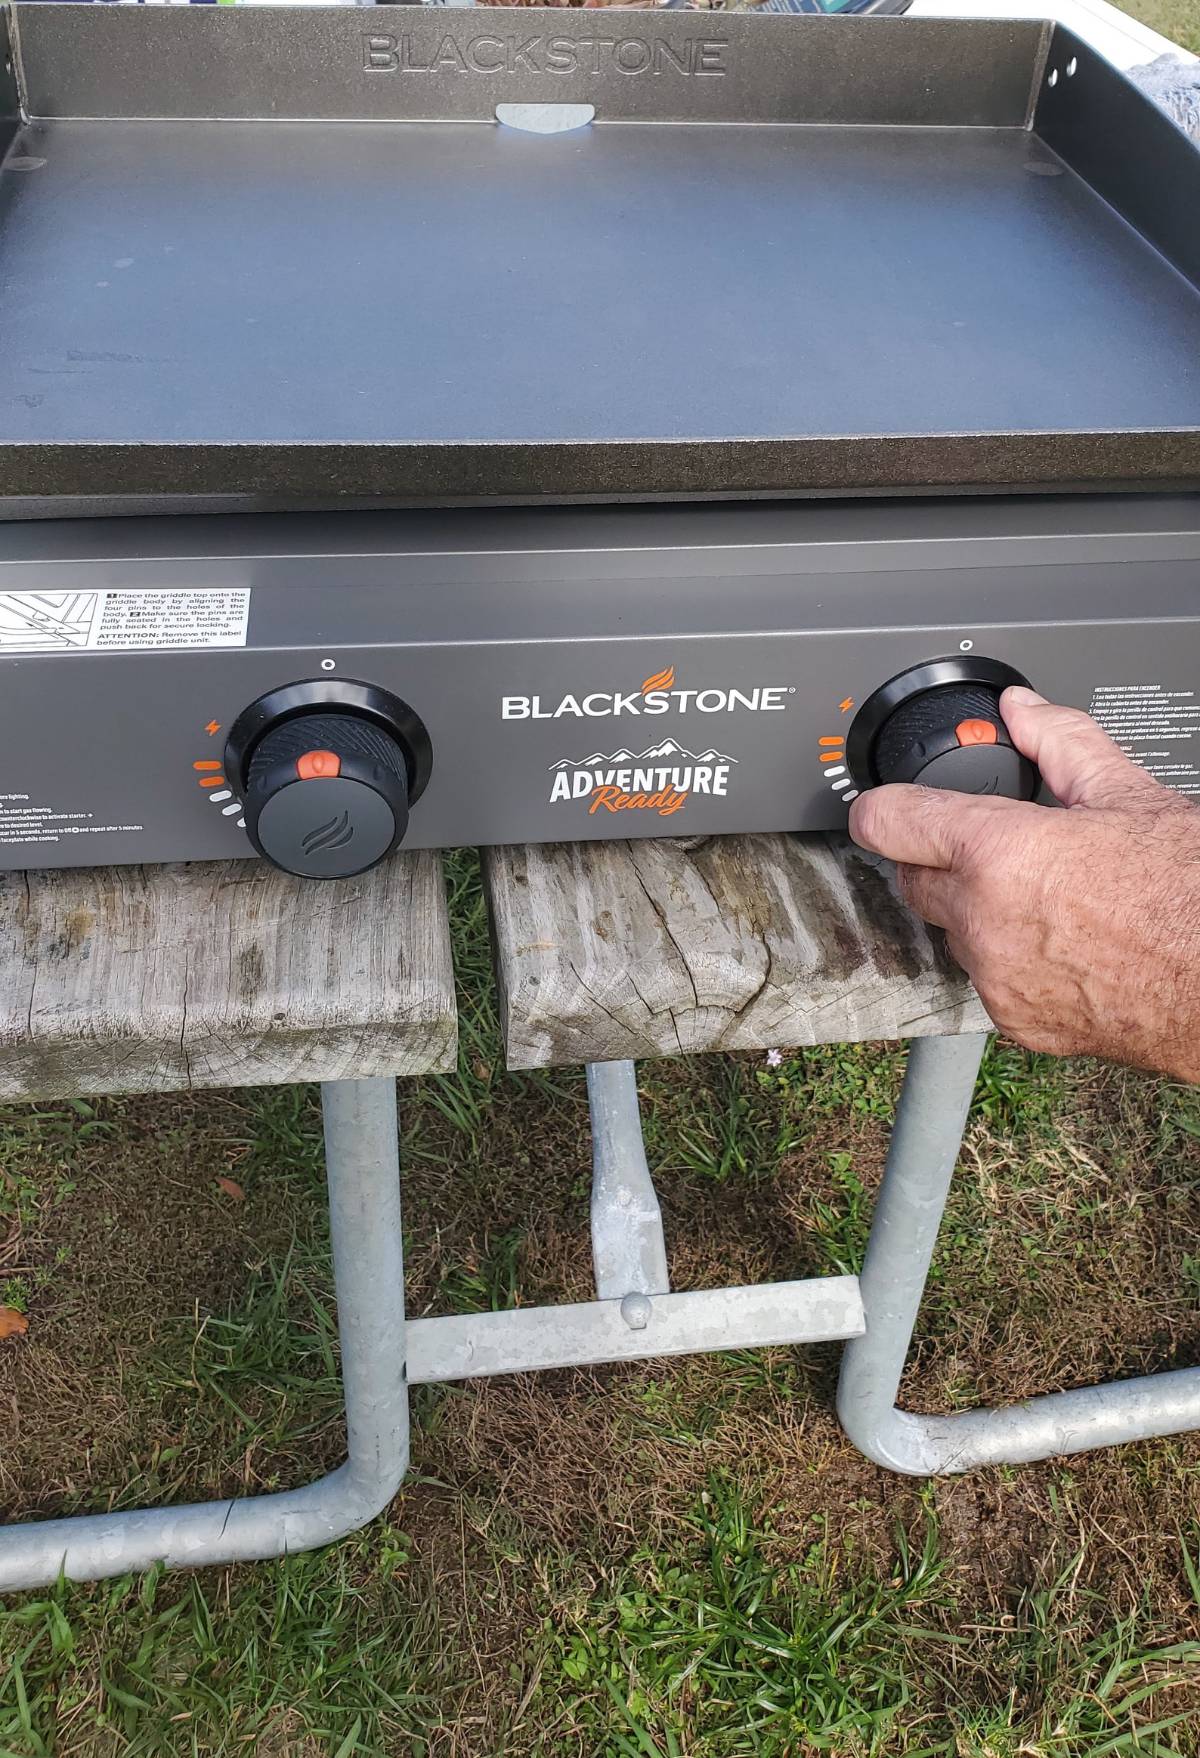
You want to let it heat up for at least 10 minutes.
I used about 2 tablespoons on my 22-inch flat-top griddle. Obviously, if you have a bigger one, you will want to use more.
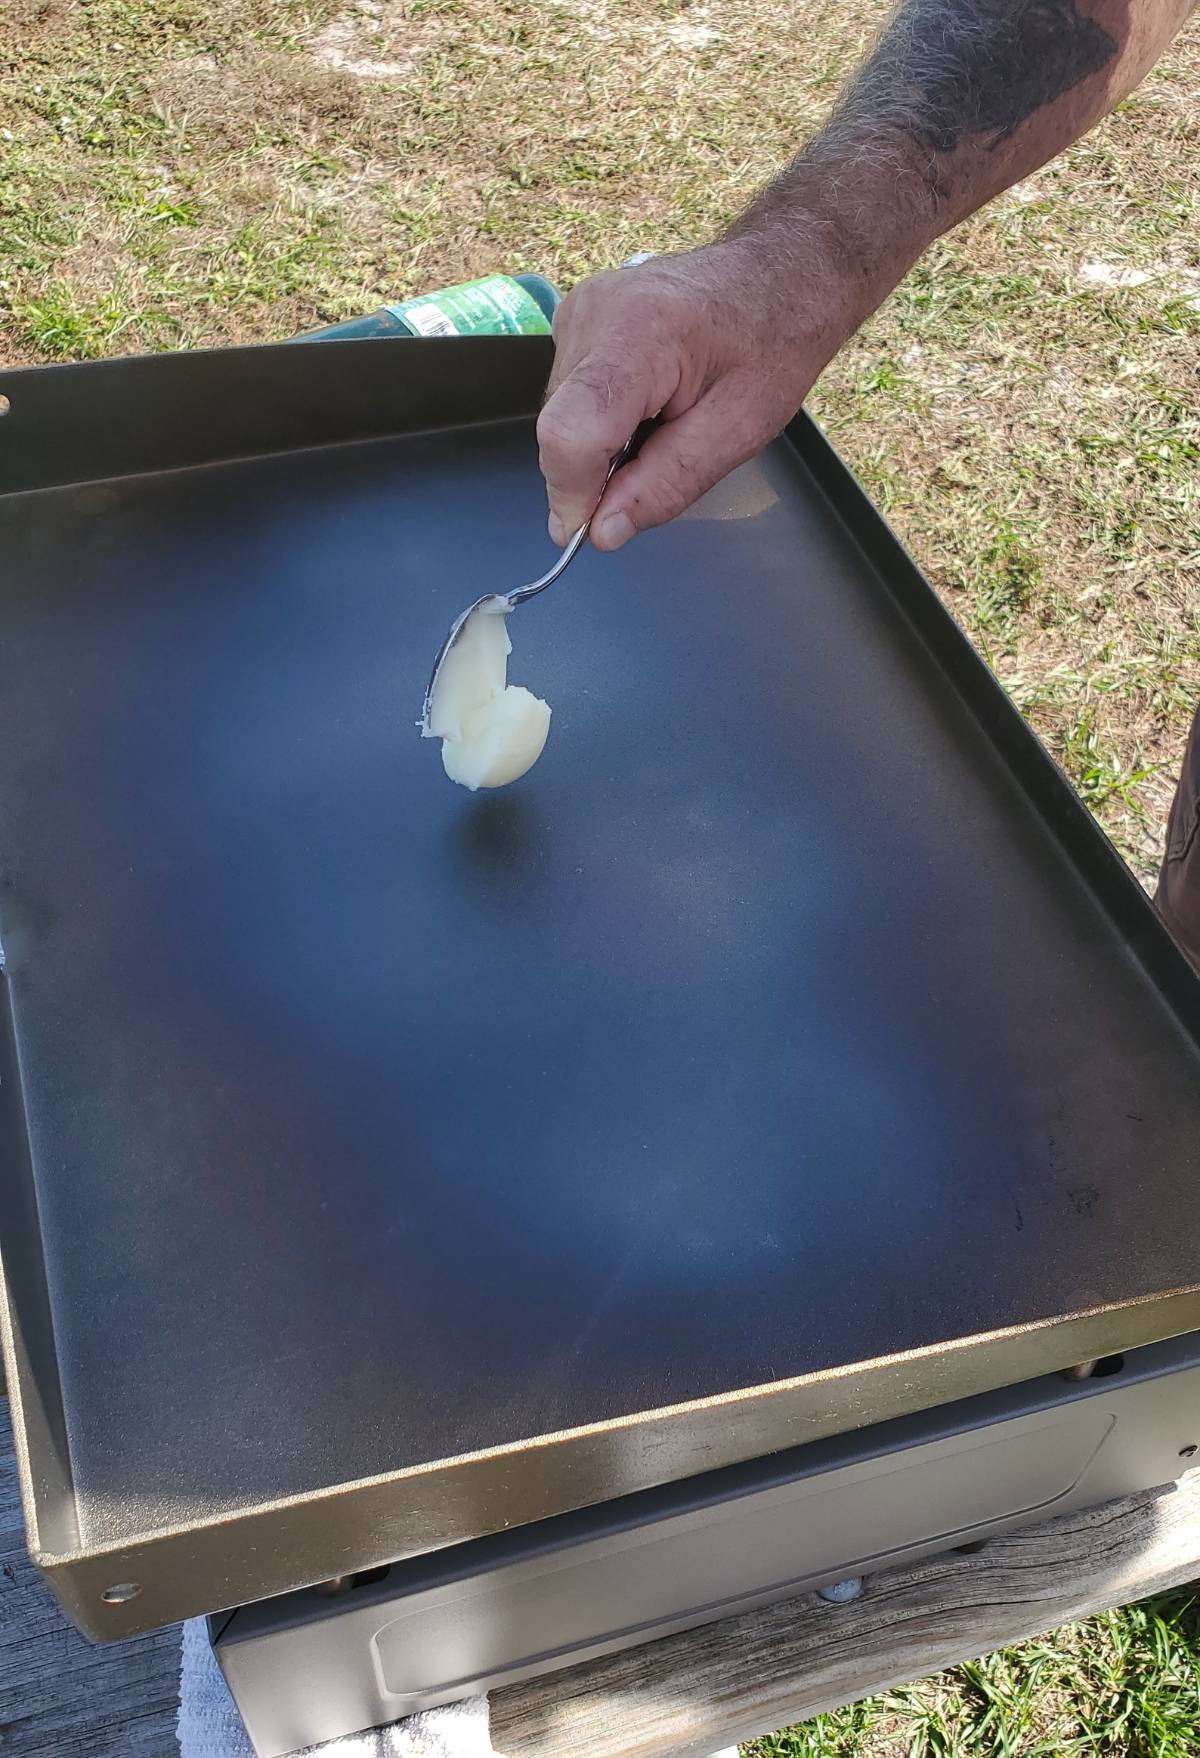
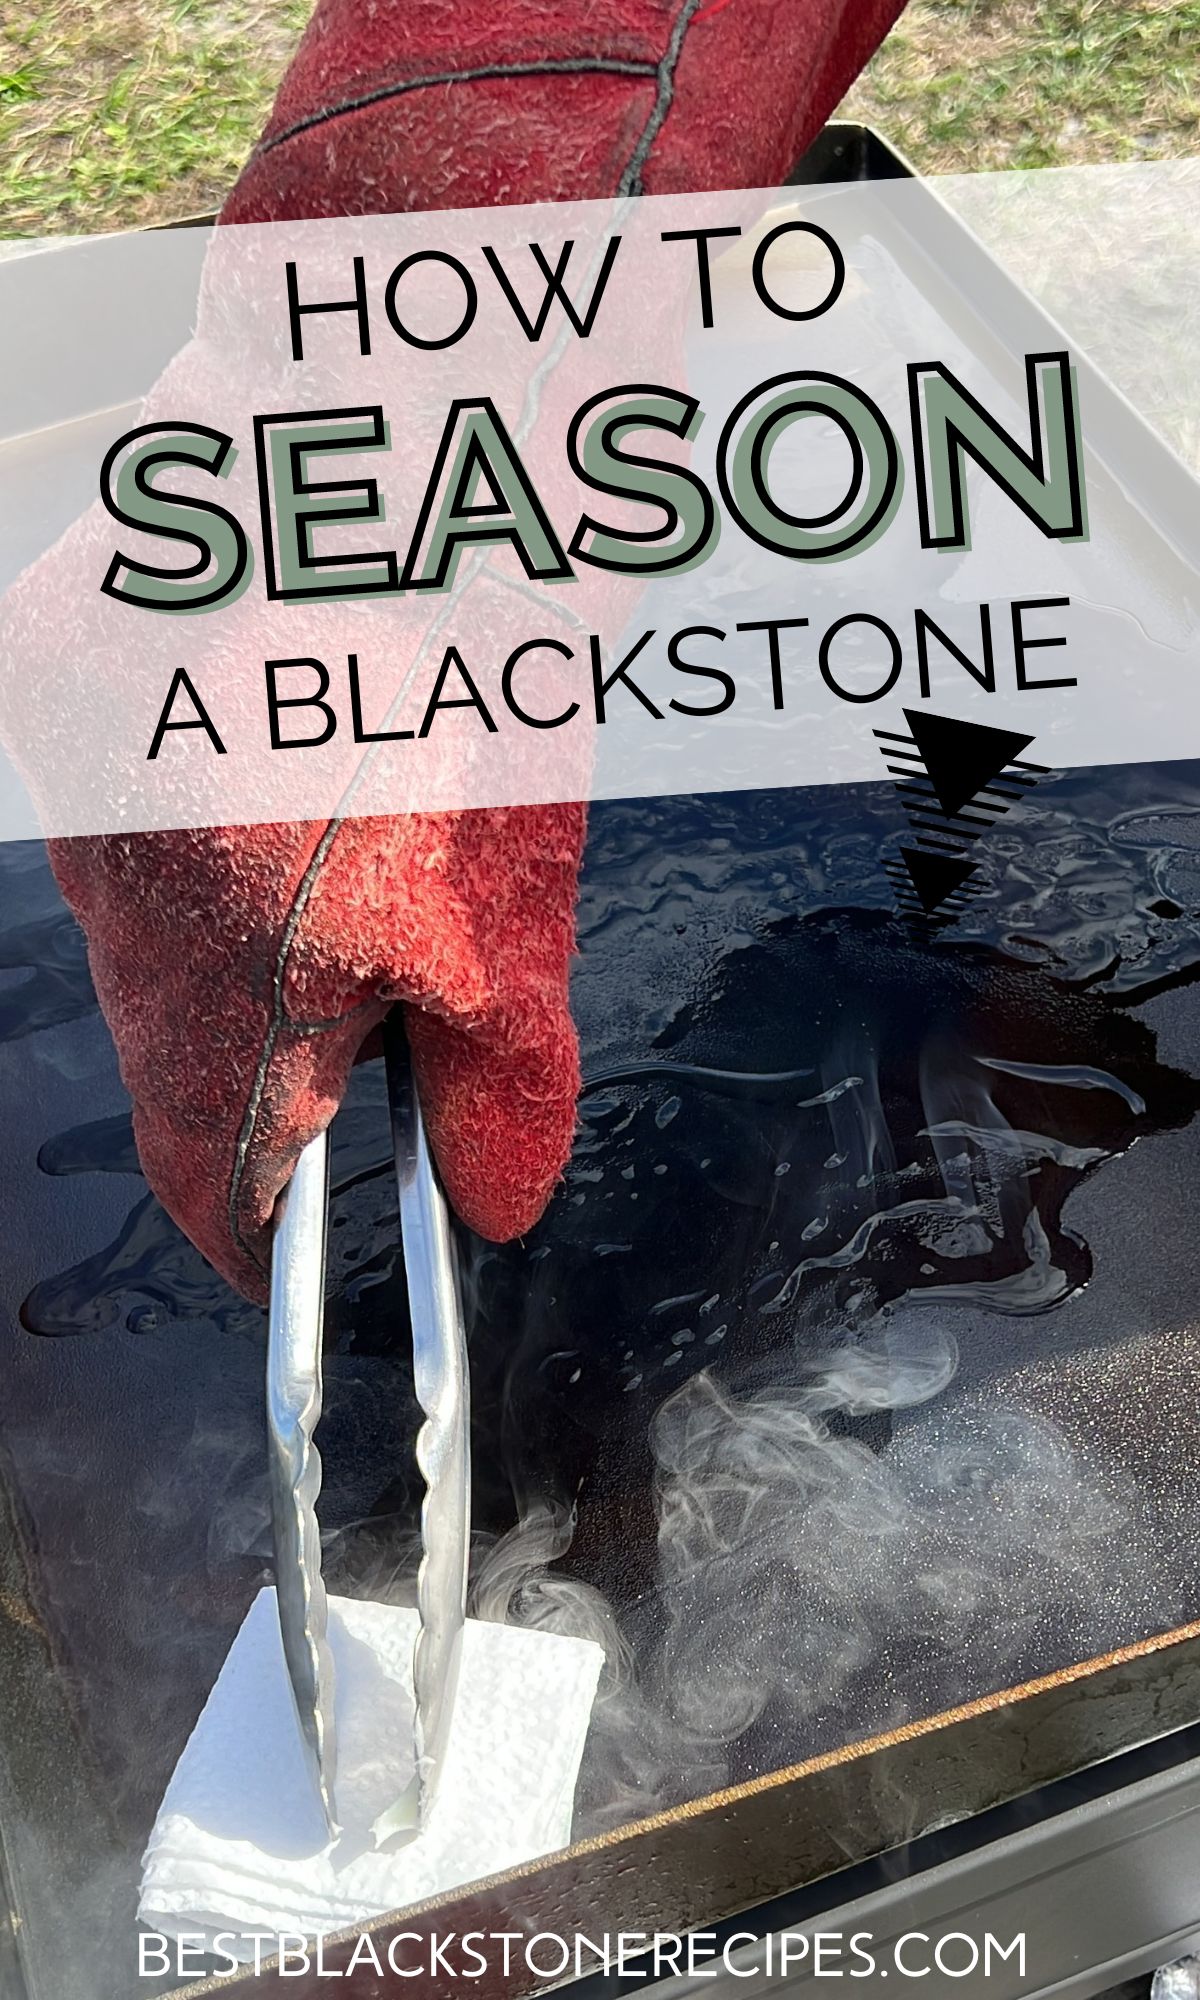
Spread it over the entire grill with tongues and a folded paper towel. It’s going to be hot so if you have a pair of bbq gloves or fireplace gloves like my husband used (that was all we had), you will want to put them on.
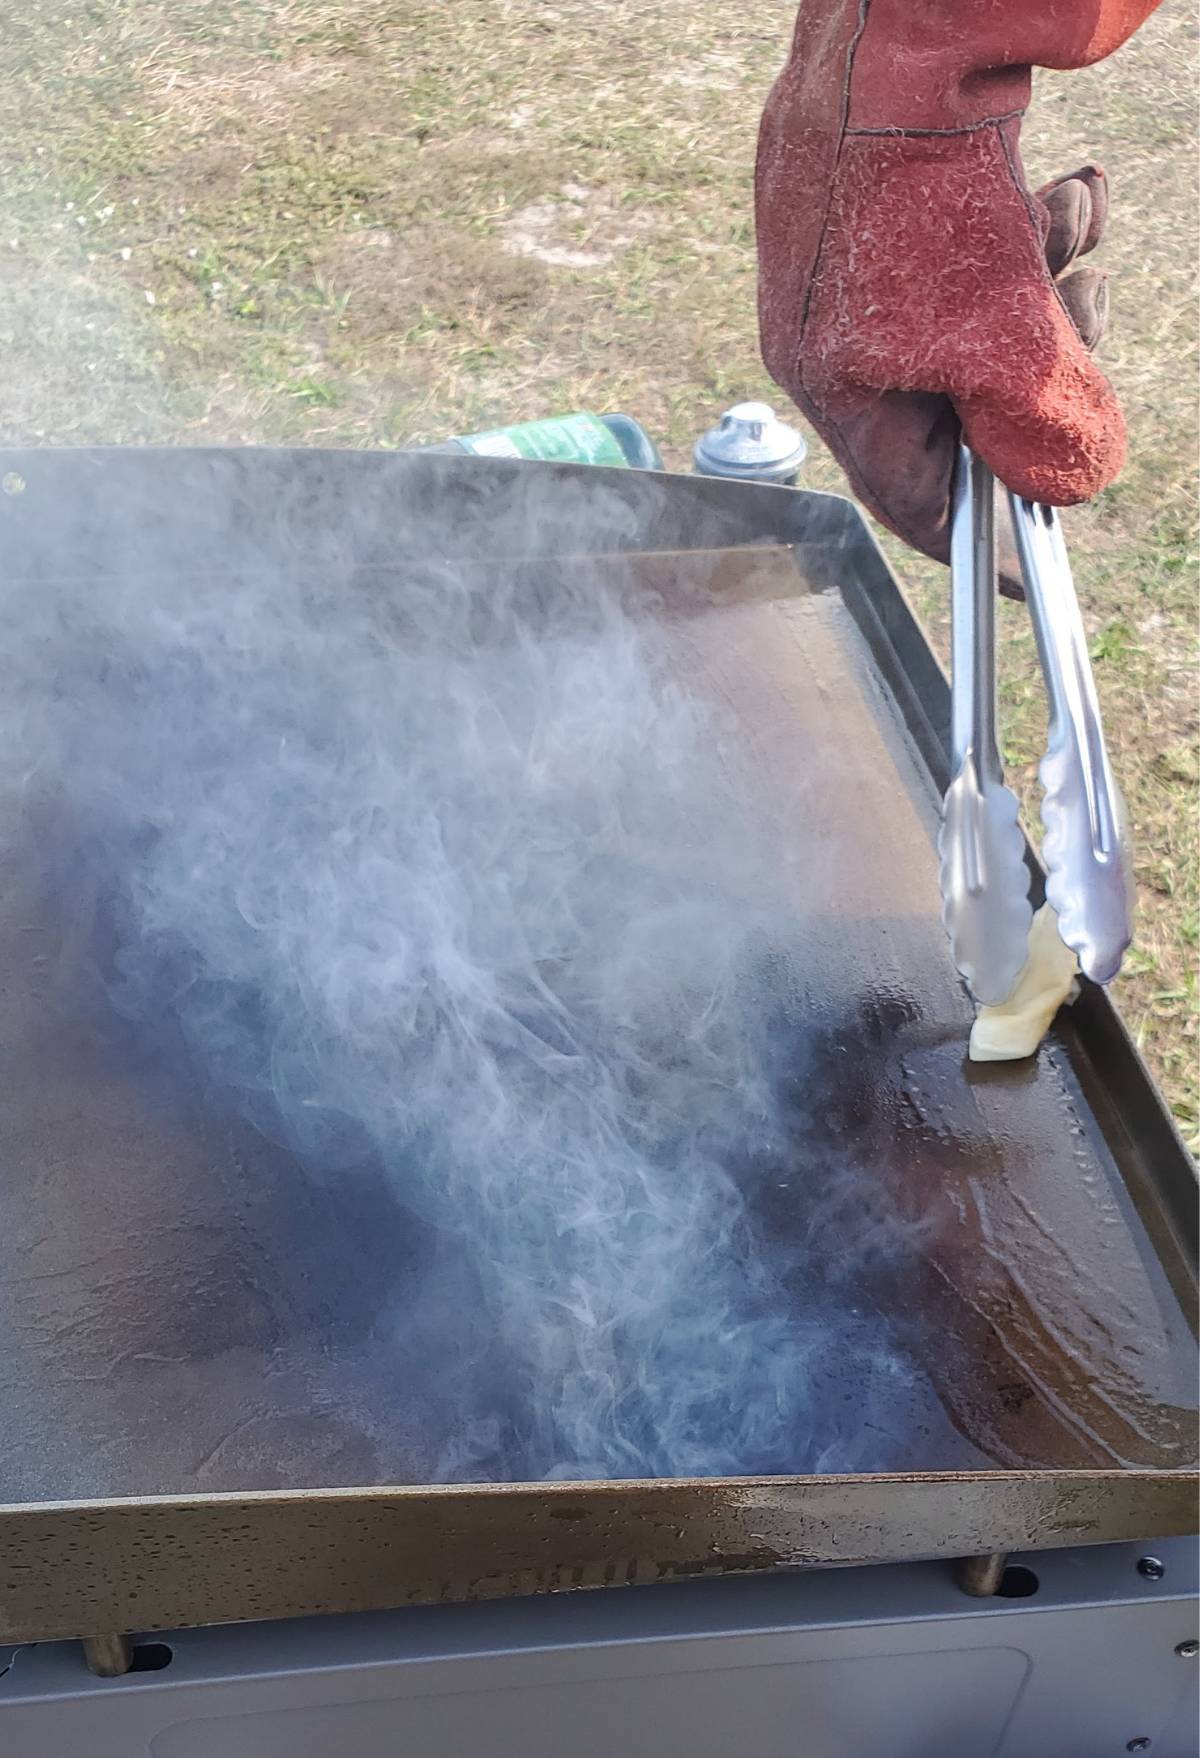
Be sure to get in every nook and cranny. Do the sides inside and out.
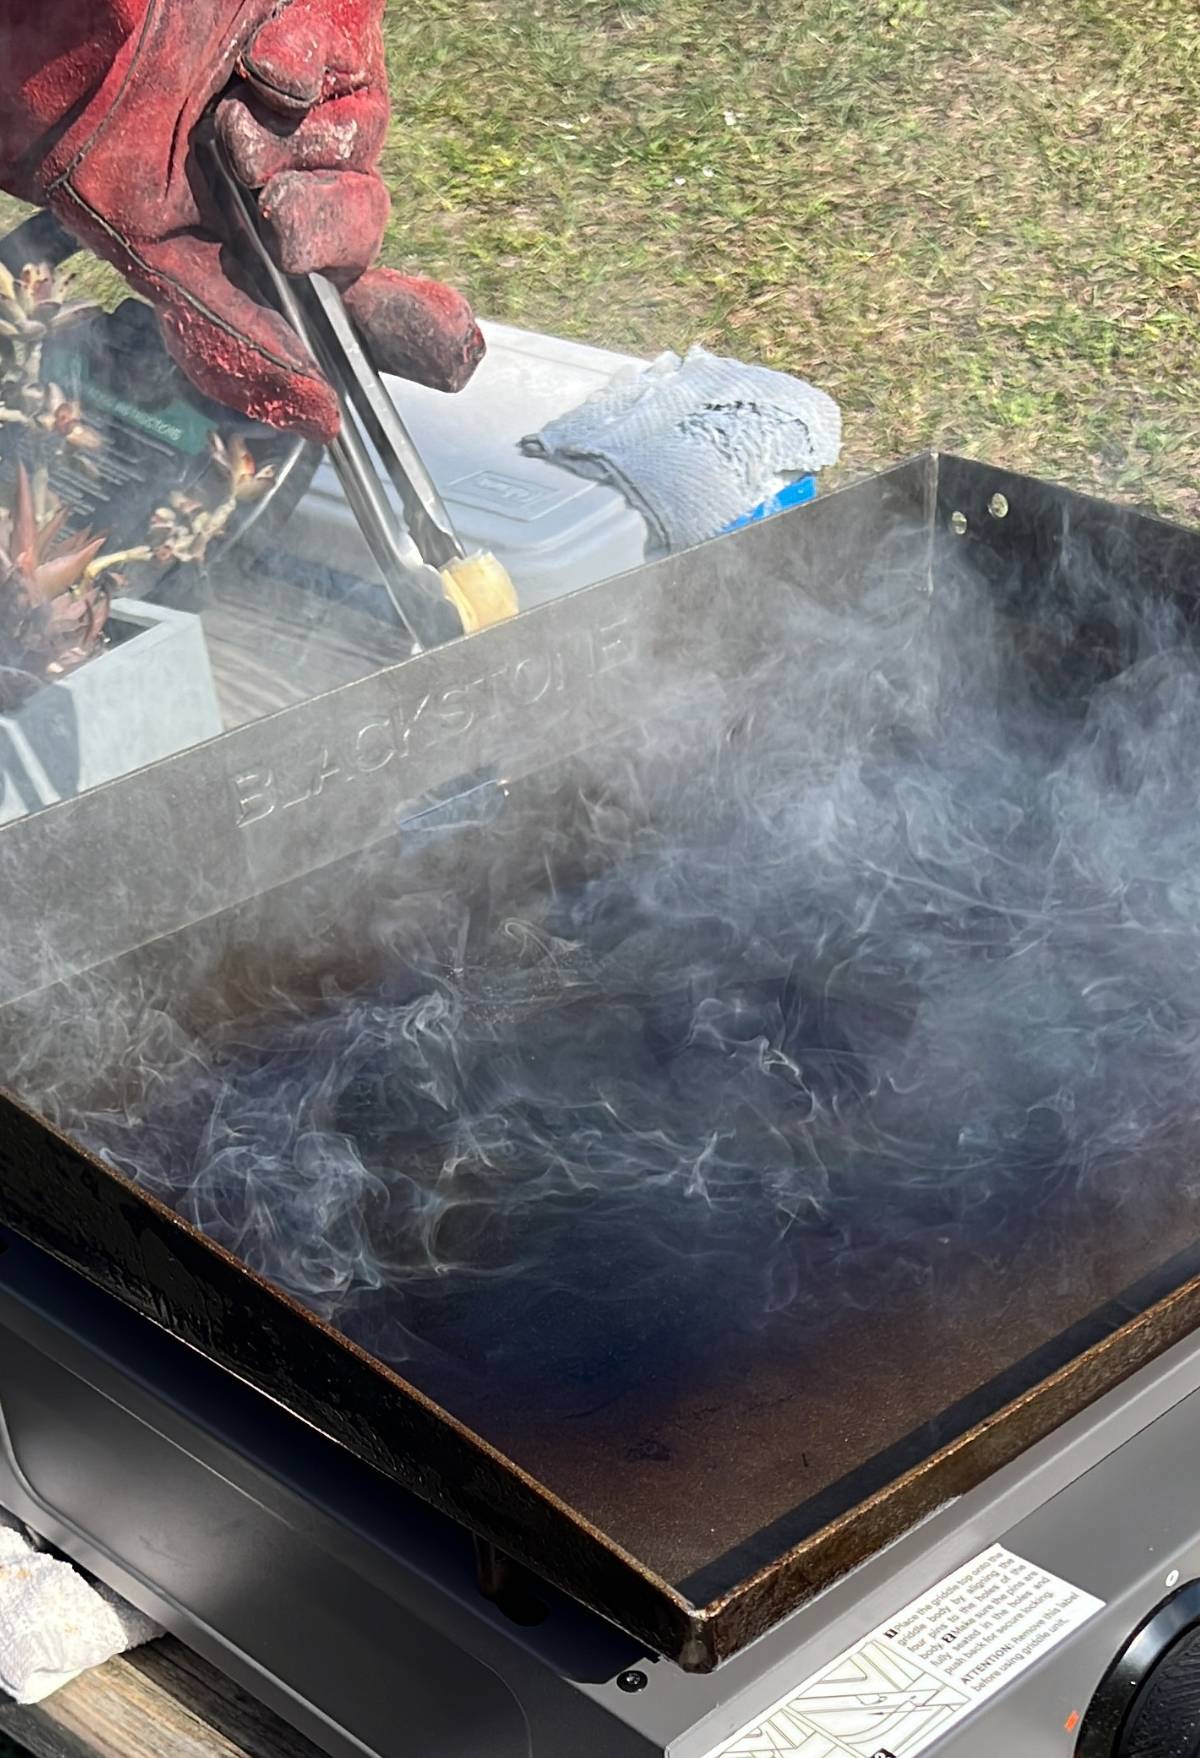
And now you wait. Wait for the griddle to stop smoking.
Once it stops smoking, usually around 10 to 15 minutes, take another couple of tablespoons of Blackstone griddle seasoning and do it again.
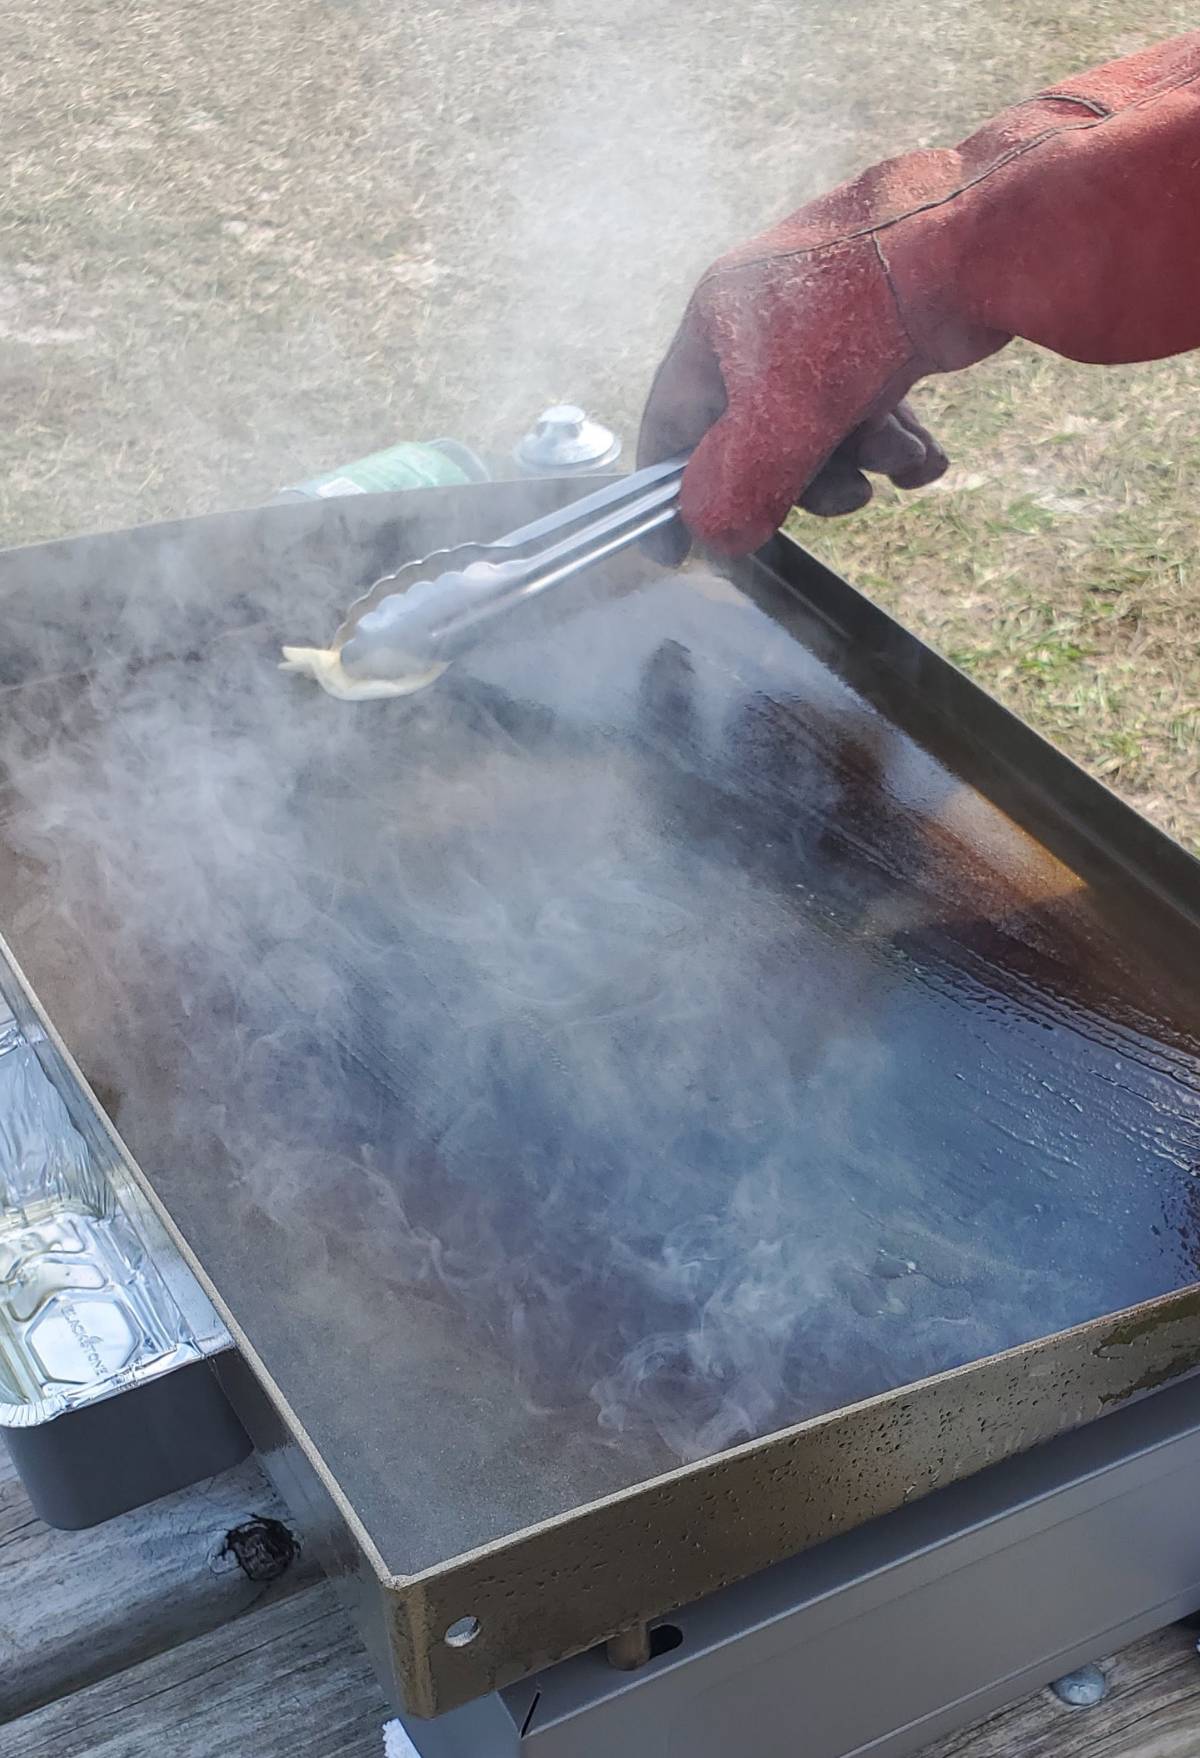
You will repeat this process 4 to 5 times.
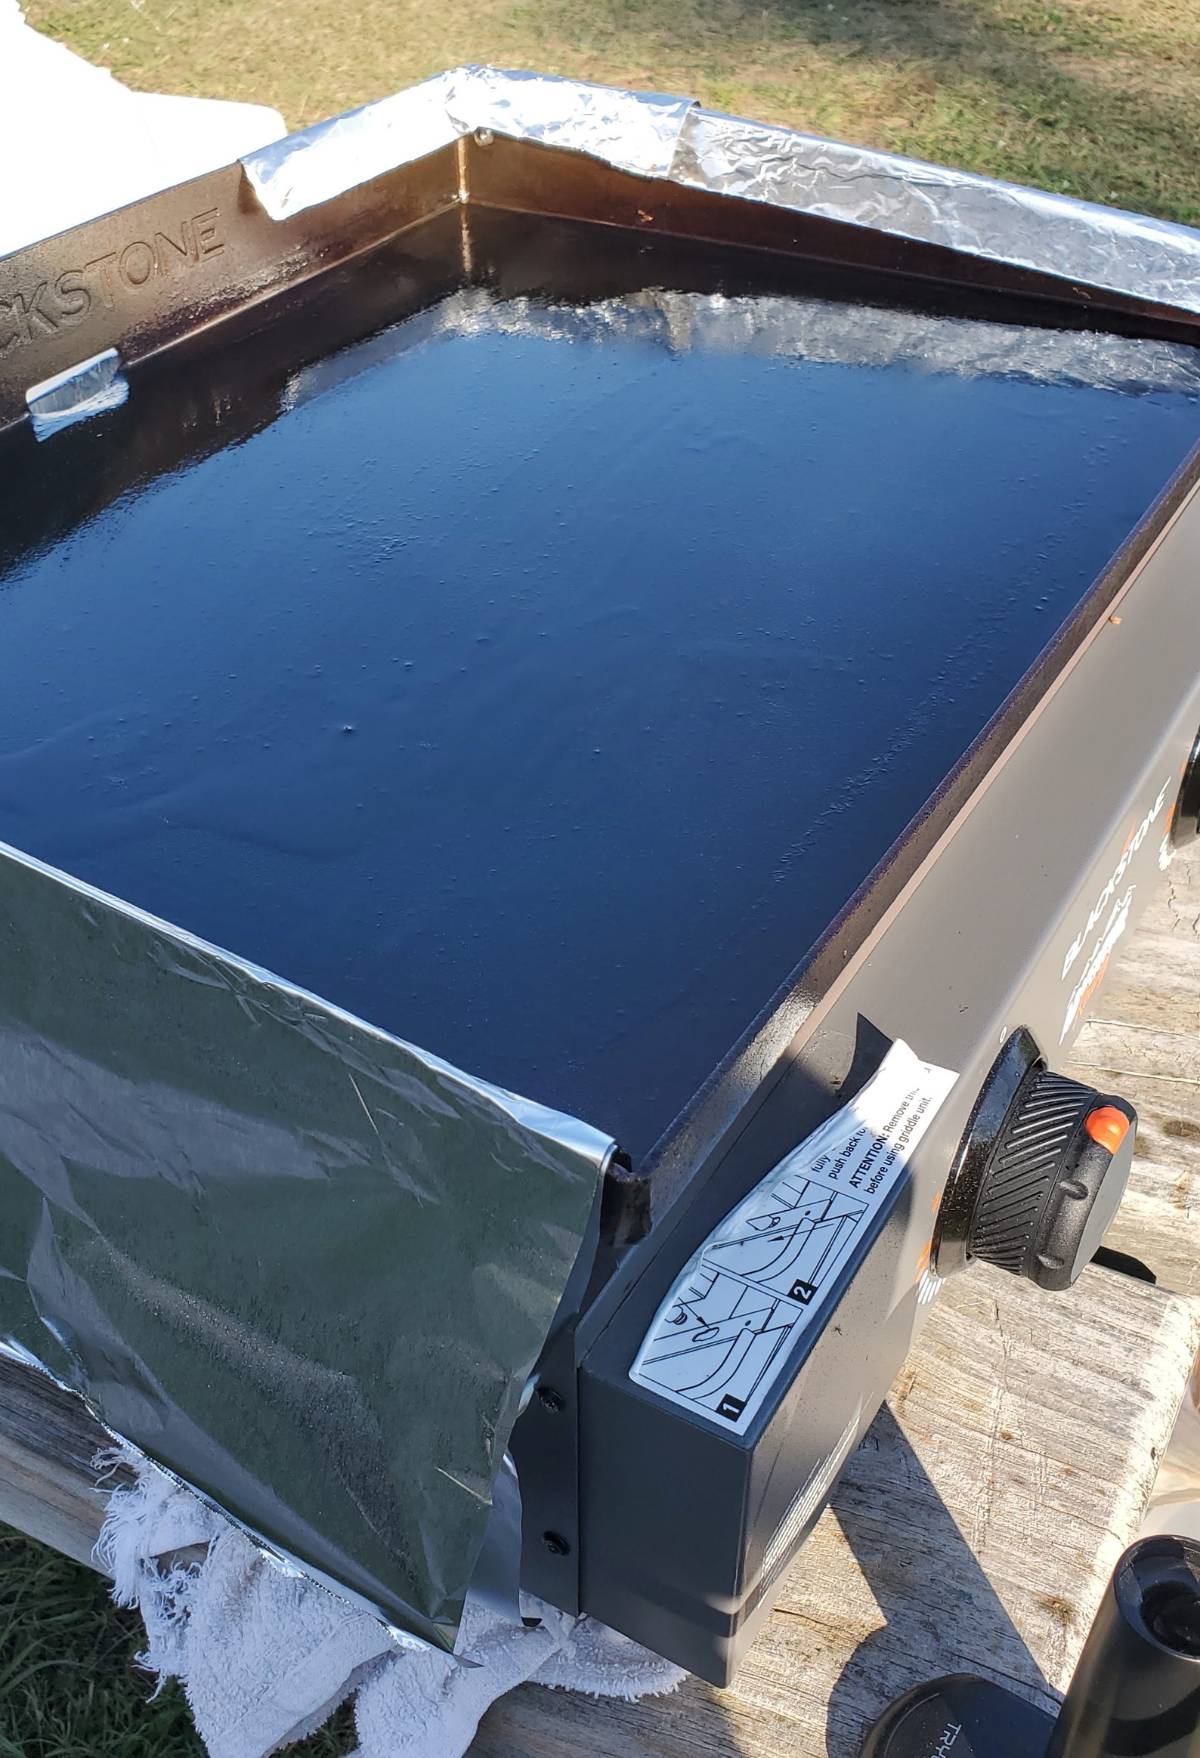
I did notice that the edges were not getting done. After asking questions in a Blackstone group, it’s because of the wind.
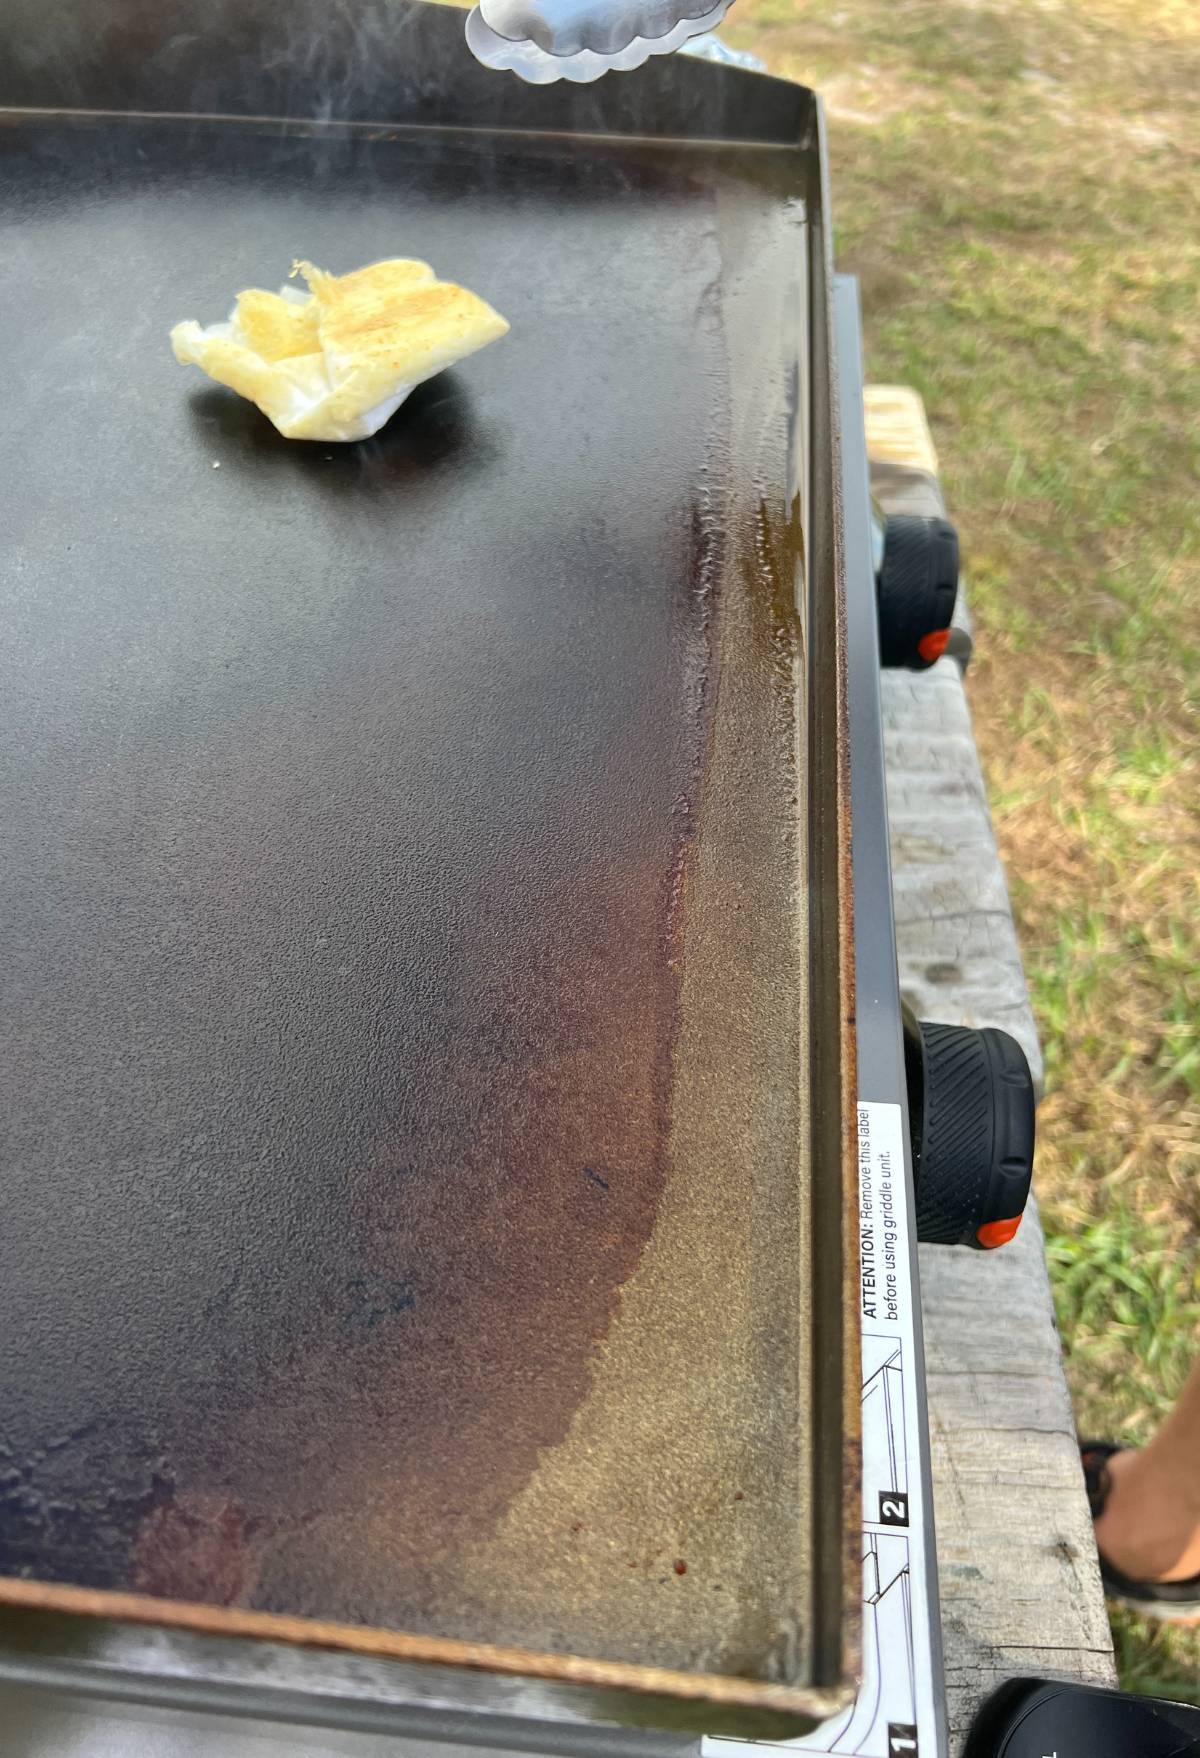
Since I didn’t have Blackstone griddle wind guards, I made my own with aluminum foil.
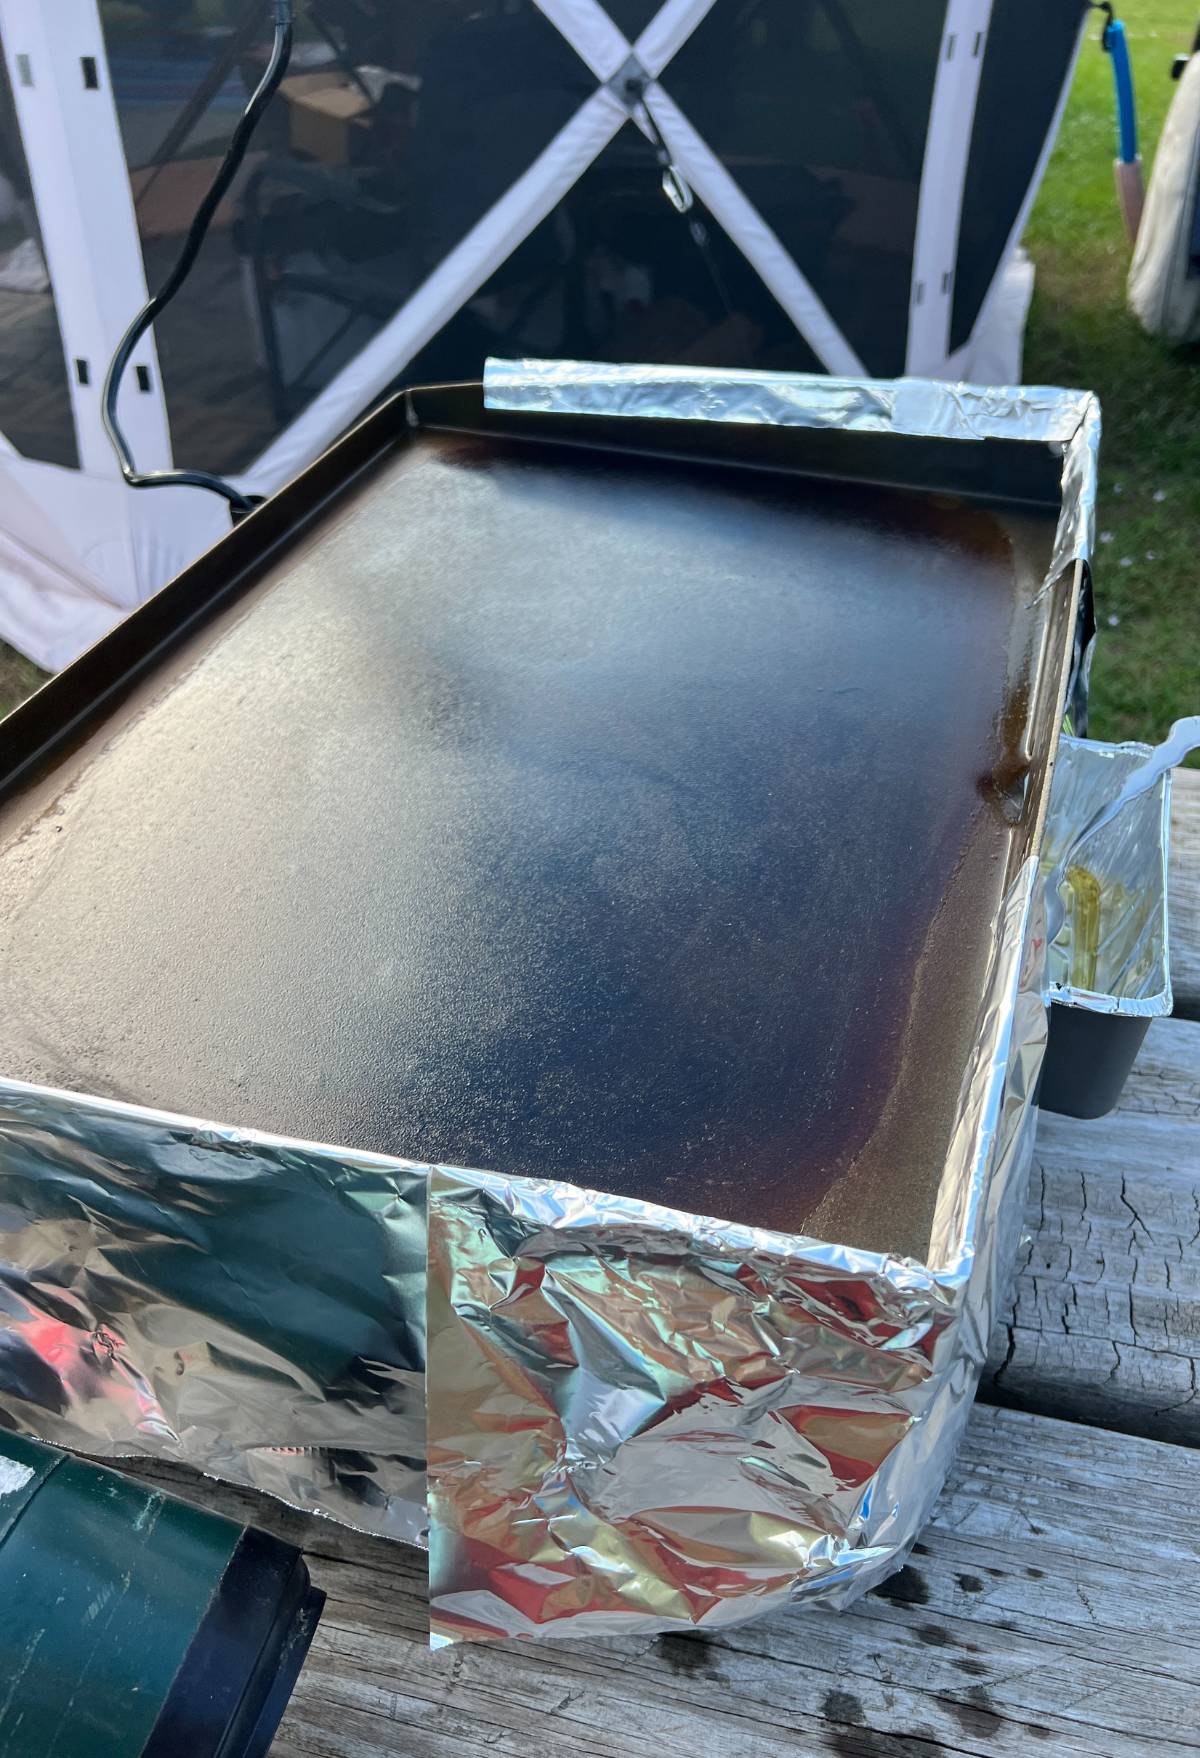
And that helped. You can purchase wind guards on Amazon.
Ready to Cook
Congratulations! You are now ready to make your first meal on your newly seasoned Blackstone Griddle!

What will you make first? Leave a comment below.
Don’t forget to PIN IT for later and FOLLOW US ON PINTEREST!
